iPhone is predominantly the most regarded platform for a mobile endeavor in any given domain, whether for business or for an individual idea. It has become a style to shoot-up for an iPhone and get ready to serve the large number of audience keeping up with the unwavering technology trend. You do a mobile appearance without an iPhone app makes you less smart. That’s the reason you need an iPhone app to create a better perception or yours and appoint a better reach among users.
Whether it’s about a set business or simply an app idea, tuning into the possibilities is easy with an iPhone app. But the only thing that keeps you from doing that is the misconception that building an iPhone app is a costly, tough and a time consuming process. The process of developing an iPhone app is not difficult if you follow a streamlined process covering all the tasks in a well arranged order.
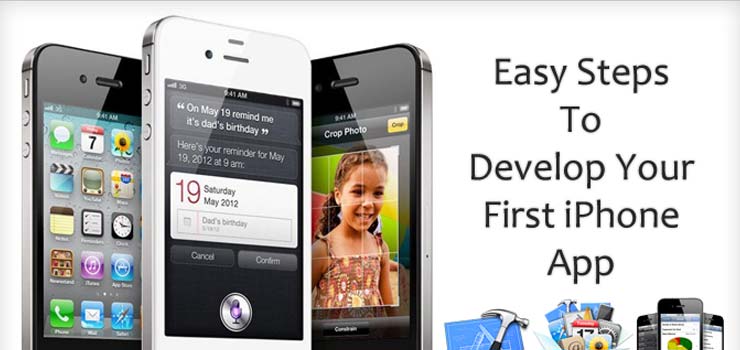
It’s so easy you can give it a try yourself. If you are looking to develop your first iPhone app, you must have a look at these simple steps to go about the whole idea of building it successfully:
Step 1: Craft an Idea
The very first thing you need to have with you is an eligible idea. If you already have a strong purpose in mind, just refine it to build an idea out of it. Do some prior brainstorming and come up with a workable idea. Draw your idea out on a paper and compare its validity and practicality in comparison with the similar ones out there.
Step 2: Get a Mac
You need to have a Mac to develop your iPhone app as iPhone development tools are only available to Mac users. Even if you consider having it developed in a jailbreak mode with the help of a PC, you would anyway need a Mac to put up your app on App Store. The good news here is you have the option to buy Mac Mini if you have limited budget.
Step 3: Register as an Apple Developer
In order to build your iPhone app you need to first register as an official Apple developer. Just enter the information required and agree to their terms. The entire process is free and you just need to register once and use the same password you use for iTunes account.
Step 4: Download SDK
Once you register with Apple, you are allowed to download the Software Development Kit for iPhone. It will take some time to get downloaded as it includes large files for documentation, sample codes and other material that would help you with development. Refer to the sites like ManiacDev for tons of information related to iPhone SDK.
Step 5: Download XCode
XCode is an extensive feature-oriented IDE based on smooth workflow arrangements that help integrating source code editing without leaving any code traces. Be ready for another big download and make sure you have a good connection!
Step 6: Develop your iPhone app with the templates in the SDK
Start using the templates available in the SDK to build your iPhone app once you are done with the designs. This is the time when you are rewarded back for all your download efforts till now. Refer to YouTube tutorial videos for adopting a better approach for using the templates.
Step 7: Learn Objective-C for Cocoa
Having knowledge of Objective-C programming is a must to develop iPhone applications. If you already have a background with coding, you will easily pick this language. Otherwise, it could be a bit of a task for you and you would require an external help for programming.
Step 8: Programming your app in Objective-C
If you have gained decent knowledge on building your app using Objective-C, you are through. If you are still in doubt, better you turn-up to a seasoned programmer who can do this for you. It can take anywhere from a few days to a few months to develop, depending on the length of the idea and the complexity of features you want to implement.
Step 9: Test it on iPhone Simulator
Done with the coding? Go for the bug killing. Test your app on iPhone Simulator, which is available with the SDK. Here you can upload your app and do the testing on your own. Think about every possible scenario from the point of view of app user and optimize the quality of the app.
Step 10: Host a Bake Sale
Once you are done with your testing it’s time to upload your app to the iTunes. This is that moment when you have to take out some money from your pockets and there’s no way out. You have to pay a onetime member fee of $99 (USD). But, you will not mind that later on when you find the iPhone users sailing through your app and making you earn revenue from it. All you need to do is give it some time to shape up that way.
Step 11: Have Others Test Your App
With your app posted on iTunes, it gets the access to the app community. You get the chance to get it tested by others to help you fix the final bugs. If you are completely new to the whole idea, you will gain a lot from this kind of arrangement.
Step 12: Submit Your App for Approval
Well, you are now ready to process your app for approval. You can do it right from the community. The process of iPhone app approval can take around 10 days of time and even more in some cases, so give it some time and be patient.
Step 13: Enjoy the returns
Congratulations you are done! It’s time to check out for the returns that your app will earn for you. If it’s a paid app, wait for the money to come your way. If it’s a free app, watch for the traffic. You are surely going to enjoy the numbers!